Brief Description: Main alternator installation...
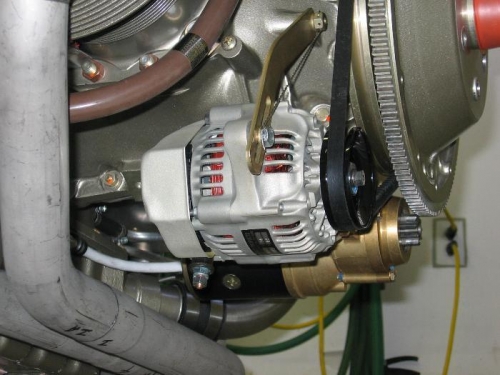
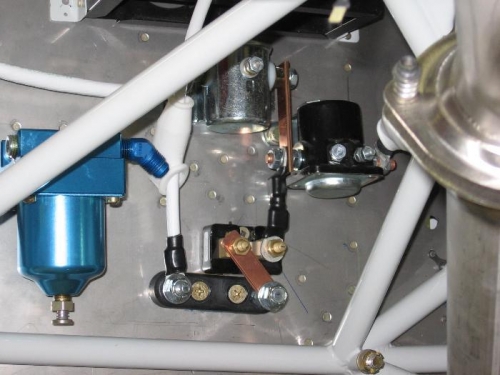
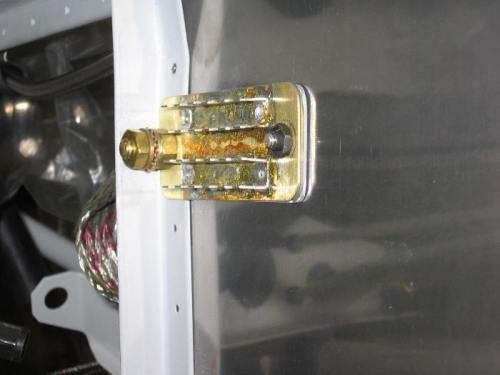
I started the day by installing the B and C Specialty L-40 main alternator. Then I fabricated bus bars to interconnect the current limiter and ammeter shut and drilled mounting holes on the firewall to secure the current limiter and ammeter shunt. Following this I fabricated the main feeder cable from the alternator to the current limiter as well as a main feeder cable from the ammeter shunt to the master solenoid to starter solenoid bus bar. Finally I drilled the firewall and mounted the battery negative terminal ground strap to firewall and ground block on the inside of the firewall.
B and C Specialty L-40 alternator installed
Ammeter shut, current limiter and main electric feeder cables installed
Battery negative terminal ground strap and ground block installed on the firewall